Monday, April 15, 2013

Making Sky Background Paper


Hey everyone! I was watching some videos on YouTube and came across this great technique for making a sky with clouds for background paper.  Stamp TV is a great YouTube channel with tips and tutorials for putting together great cards.  CLICK HERE to check out the video where I saw the technique. 

After watching the video I knew I had to try it out.  I took out my Megan Elizabeth All Around Nesting Dies, Brilliance Pearlescent Sky Blue Ink, and my Everyday Pop-Up Card Cricut Cartridge.  I used pieces of scrap paper and a Cloud 9 stamp for my inside sentiment.  I don't know where the ribbon came from, but I think it was one from the dollar bins at the craft store.

Here's a look at the finished Card

Front:


Inside

With this card we have knocked off another cartridge, and we are still heading towards using all of those cartridges by summers end.  I've gotten a little distracted because of a new crafting toy which you will hear about soon.  So check back to find out what the new toy is.

Happy Crafting,
Legalbeagle


Tuesday, March 26, 2013

Easter & Spring Cards . . . the Challenge Continues

Hey Crafters!  First of all thanks for checking out our blog.  We hope that you like what you see, and are inspired to do some crafting of your own.

Okay,  I am still working on making the most of my Cricut Cartridges.  Since Easter is so close I figured I needed to do some Easter/Spring Cards.  (Hopefully, I'll make it to the post office in a timely fashion).  So for this card making session, I used the Martha Stewart Cake - Seasonal Cartridge, French Manor Cartridge and Tinkerbell & Friends Cartridge, that's three cartridges used. 
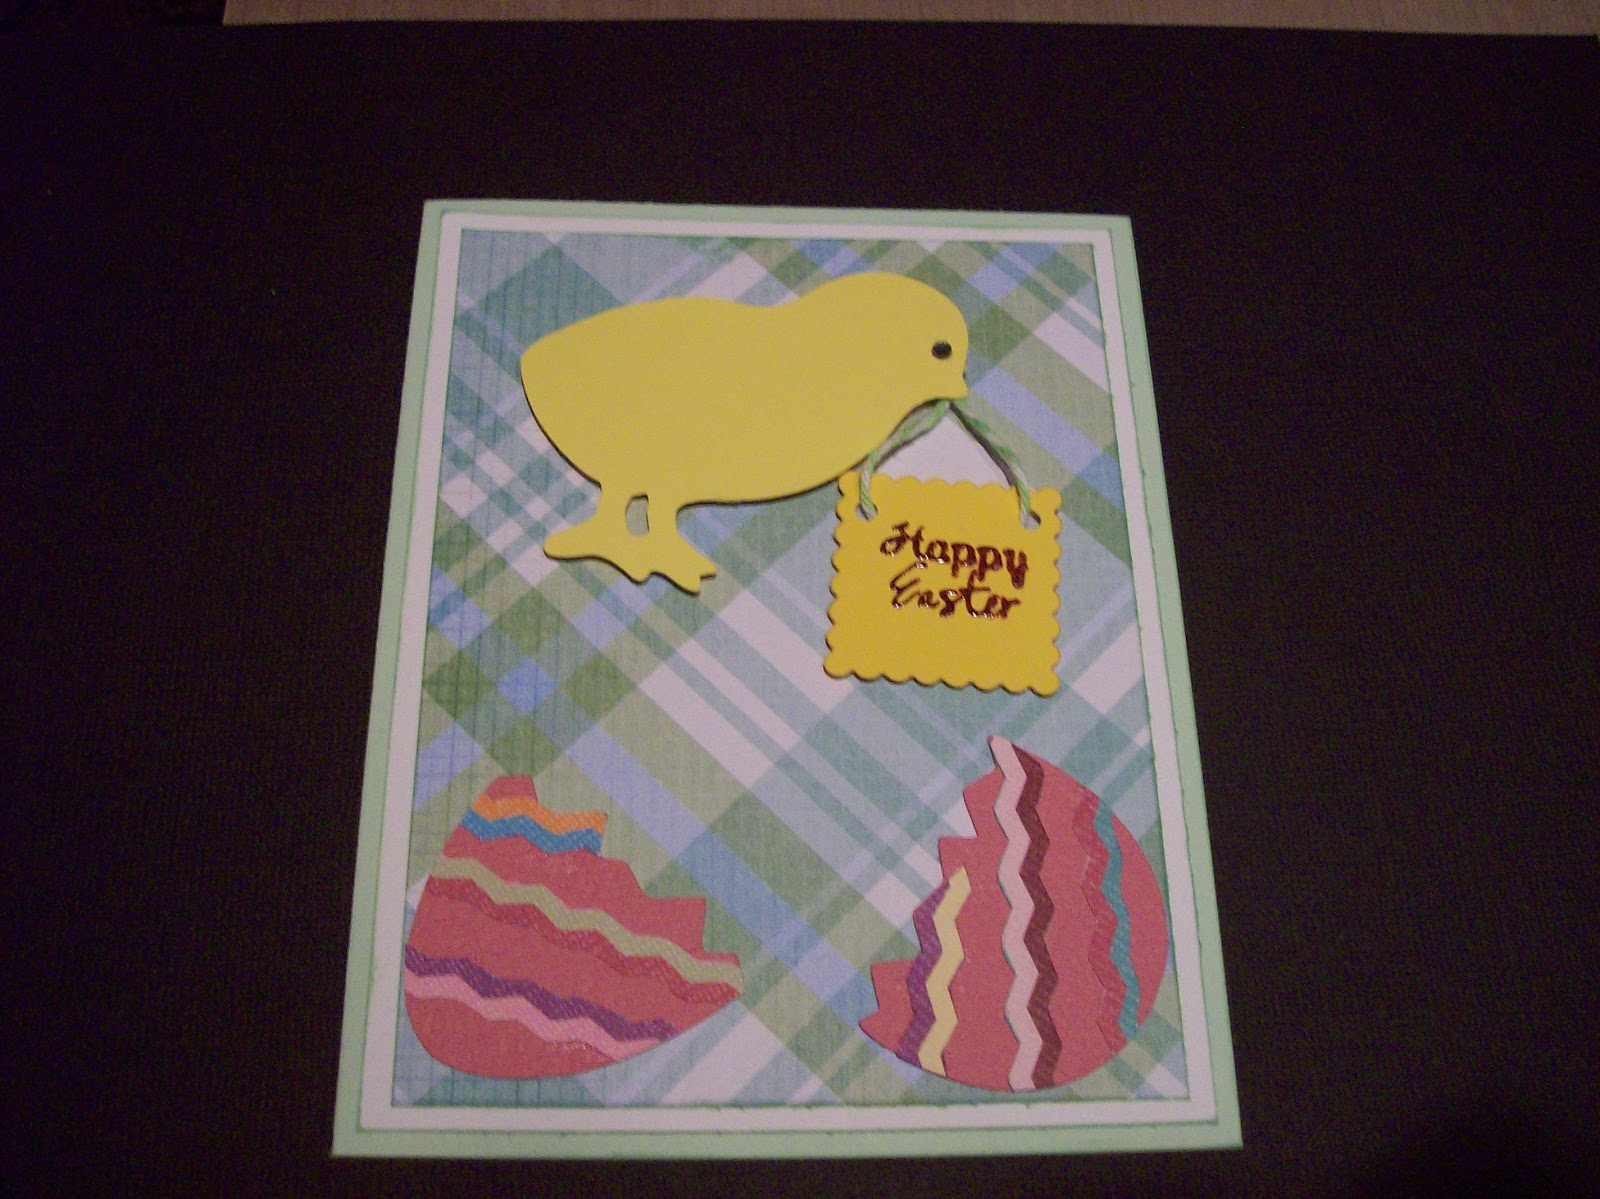
This first card includes the bunny rabbit and the Happy Easter phrase from the Martha Stewart Cake Seasonal Cartridge.  The pattern paper is from a Recollections paper pack, but I'm not sure of the name. All other paper is from my paper stash.


This next card is using the same Martha Stewart Seasonal cartridge.  From the bunnies to the grass, all the images are from that same cartridge.  I just used the Cricut Craft room to re-size the bunnies and then fold down the middle.  Also I used a cuttlebug folder to give the bunnies some texture.


This is the last card using the Martha Stewart Seasonal Cartridge.  The sentiment is from a My Creative Time Stamp Set called Color Me Happy.


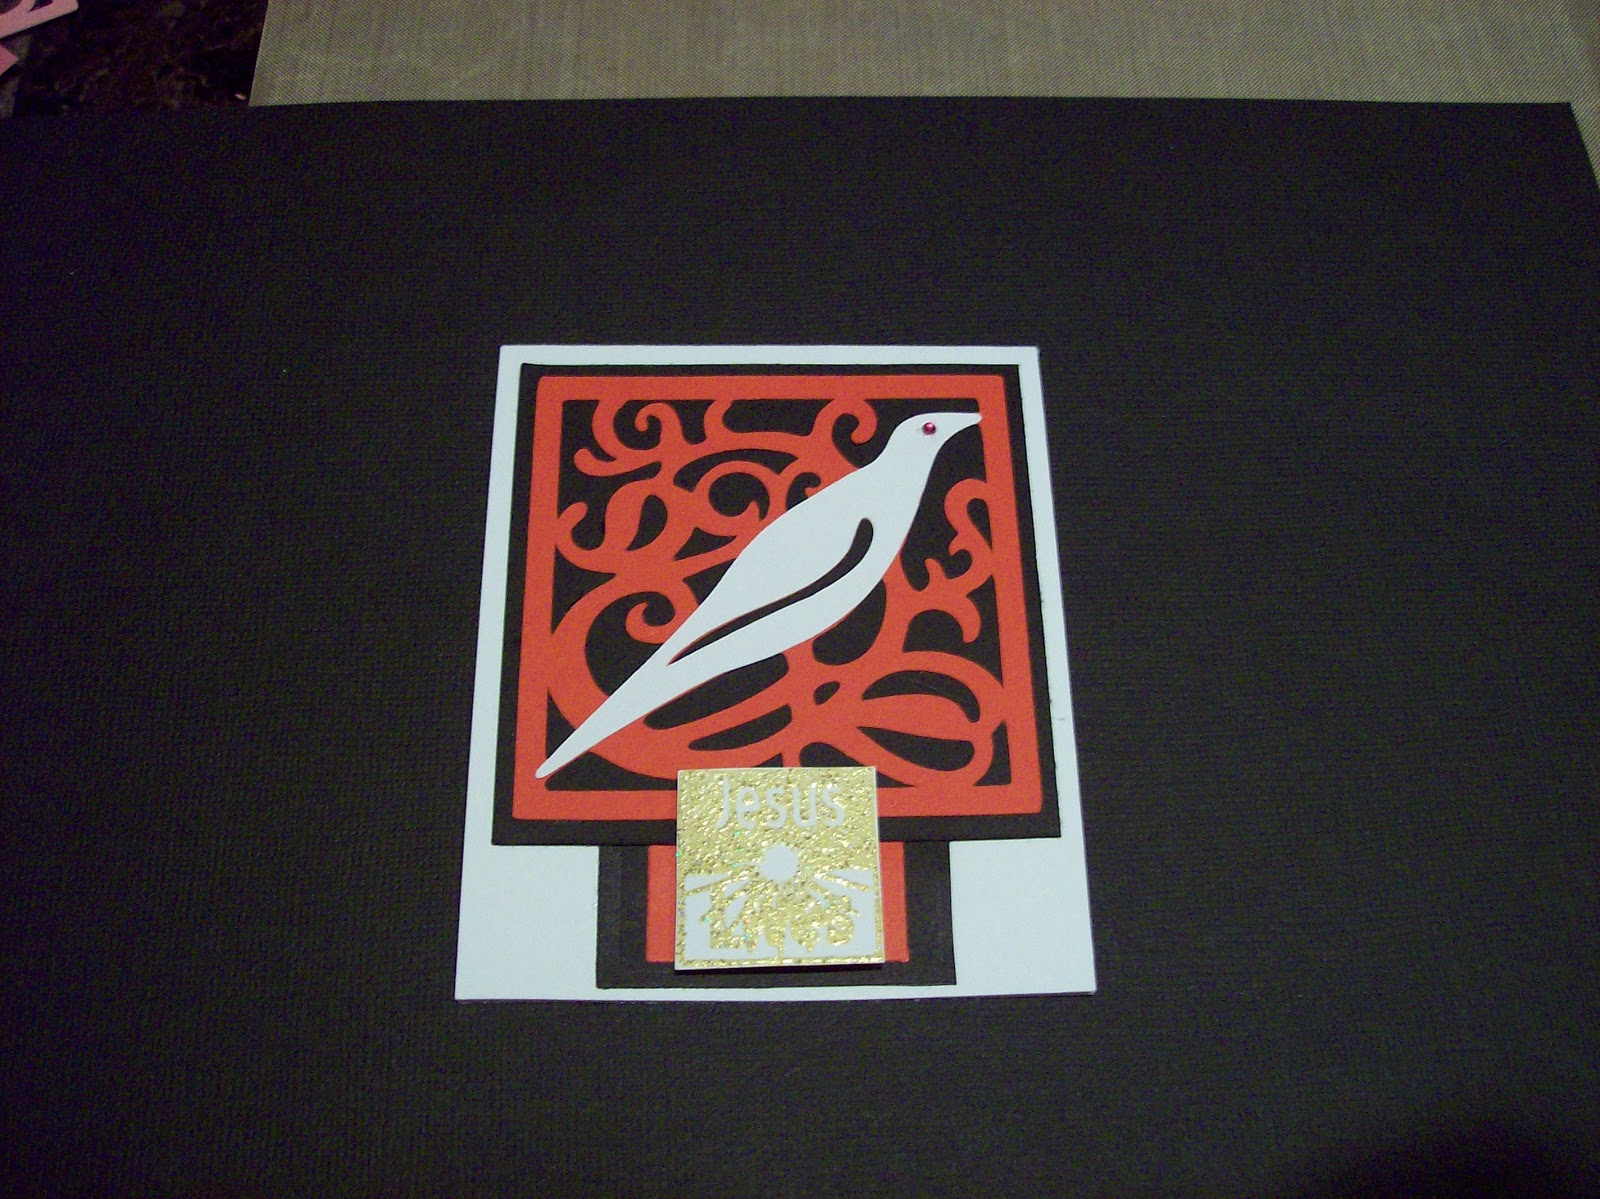
We used the French Manor cartridge again.  But I never said that repeats were not allowed.  It will just take me longer to get through my cartridges.  The stamped sentiment "Jesus Lives" is from a Inkadinkadoo stamp set. Card size is 3" x 4 1/2".


Who said using the same cut couldn't look different.  This is a standard A2 size card, we added the embossed wave/chevron piece on the side, and used a different sentiment from the Creative Time Stamp Set.


I just received the Tinkerbell & Friends cartridge.  Man oh Man does this cartridge requires a lot of layering with small pieces.  I will be making more stuff with this cartridge, I just need to mentally prepare myself for small pieces. The sticker sentiment came from my embellishment stash (pretty sure I got it on clearance at Joann's awhile back). 


Well, since we can't count French Manor again, we will cross of two more Cartridges from our challenge list.    Leave a comment telling us what you think of our craft projects or ask a question about anything you've seen.

Thanks for stopping by and

HAPPY CRAFTING

Sunday, March 10, 2013

CRICUT CARTRIDGE CHALLENGE

You read right.  I am declaring a Cricut Cartridge Challenge . . . on myself.  You see, I was trying to decide what I wanted to do with a layout.  Imagine my surprise when I realized that I had a fair amount of cartridges to look through. 
Now I know that I am not in the same class as many when it comes to the number of cartridges.  But I have not even hit my 2 year mark with my circut machines.  To my surprise, I have 52 cartridges (47 physical and 5 digital).  I'm not saying that I don't make stuff and use the cartridges.  However, there are a few of them that I've looked through the booklets and not cut a thing.
So here's my challenge.  I going to list out all of my cartridges, and by summers end have used all of them in some type of crafting project.   I'm not even going to cheat and count the projects I've done last year.  So, join me in using those cartridges you have.  Leave a comment regarding the projects you see posted here, and let me know where I can see your projects.  Let's inspire each other to use our craftiness to bring smiles to others, instead of dust bunnies on our machines.
Starting things off, I have two new cards that are spring and Easter themed.  I used the Nursery Rhymes, French Manor, New Testament and Inspired Heart Cartridges to complete these cards.  
For this first card, I used paper from my stash, the inside sentiment sticker is from Creative Imaginations and the Cartridges being used are New Testament and Inspired Heart.

Inside

 Front

For this next card I used some Core'dinations Premium Card stock and DCWV 6x6 Everyday Paper Stack. The Cricut Cartridges being used are Nursery Rhyme and French Manor. The Embellishments were from  K & Company, Me & My Big Ideas, and the stamped sentiment I got from Oriental Trading.

Front

Inside

Yipppeeeeee, that's four cartridges down, and only 48 more to go.

Happy Crafting,
Legalbeagle

Sunday, February 24, 2013

Shopping Haul & Some Cards

Okay, I admit it!  A couple of weeks ago, I went to the craft store.  I know, that's no big surprise.  While there I found some really good deals.  You know the kind of deals you can't walk away from or pass up.  So I looked through my coupons and saw that I had one for a percentage off your total purchase, clearance priced items included.  Well you know what happened . . . I bought some stuff.  It seems like a lot but I spent very little and saved a whole bunch.  Check out the video to see what I got (Click Here to view video).


CARDS

My friend had her housewarming this weekend, which gave me the perfect opportunity to use my Wild Card 2 Cricut Cartridge. 


This next card is a Birthday one for someone I know.  It gave me a chance to use the Cricut Cartridge Suburbia.  I can't wait to make some more thing using that Cartridge.


Have a blessed day,
Legalbeagle

Friday, February 22, 2013

Using my Spectrum Noir Markers

I put together this simple card, and wanted to share it with you.  I was able to sit down and use my Spcctrum Noir Markers.  Although I've had these markers for a while, I don't get the time to use them often so my coloring can be hit or miss.  I keep trying though, and actually loved how the coloring on this image came out.  I don't remember where the bling or the ribbon came from because I pulled it from my stash.  The paper used was from different Core'dination Premium Card stock packs.


I purchased the image "Phebe's Prayer" from the website of Fine Arts by Robert Jackson Click Here to get to his website, and see all of his wonderful digital art for sale.

Here is a list of the markers I used to color the image:
Skin Tone:  TN5, TN6, EB4
Hair: BG10, BG9, BG5 (also used White Gelly Roll Pen for accents)
Dress: BP7, BP6, BP4, BP3, BP2
Lips: DR3

Friday, February 8, 2013

Hugs & Kisses Card

Welcome to February!  As you can tell from the previous post, I have been organizing my crafting supplies.  Hopefully, it will help me make better use of my time, since everything will have place, and be easy to find.

Today's project was something I put together while putting away one of the embossing folder's I had gotten on sale at AC Moore.  It's a quick card using the Darice "Heart" Embossing Folder, the Provo Craft Cuttlebug, and Core'dination Black Magic Collection as well as their premium card stock paper packs.  I also got to use for the first time (YEAAAHHHH!!!!) my Purple Cows Pin It Set, that I bought from HSN.  I really like this decorative pin set.  HSN doesn't sell the separate pack of pins (staples) so I will have to go hunting on Amazon or Ebay.  I know I bought it on clearance, so I hope that I will have some luck getting extra pins. 
So check out the Video on our YouTube Channel at LeagalbeaglePanda (Click Here) to see how I put together the quick & east card.


Outside of the Card
Inside of Card


HAPPY CRAFTING!

Sunday, February 3, 2013

Craft Punch Storage & Stamp Storage

It's still early in the new year, and I've been trying to re-organize my craft area.  Let's face it, we all see a deal to good to pass up, and then we usually buy it, pack it away and forget we have the stuff.  Since we're not looking at it, you forget you have it, and then you won't put it to use.  Or, you wind up buying it again.  So to kick off this year right, I figured I'd share with you how I am organizing some of my craft supplies and tools.

CRAFT PUNCH STORAGE
Part of today's post it about storing my craft punches.  I don't have a lot and, the majority was from watching HSN and signing up for auto ship.  I decided to use the Recollection Memory Boxes, and some of the storage boxes from Ikea.  I've also made some tags that I can keep next to my craft desk to pull out for review when working on a project.  That way I know what I have and can locate it quickly to use if it fits the project I'm working on.
Check out the video below to get a quick overview.


STAMP STORAGE:
Stamps are one of those things that can quickly multiply.  You know,they get you as you are standing online in the craft stores.  Those dollars bins should really be outlawed.  Or better yet, you are just looking and you find them on clearance, or at a scrapbook conference/expo where they are selling them cheap.  You can't resist, because it has the one phrase or image in the exact font or design you've wanted.  Now that you have them all, where are you going to put them?
Well I've trolled YouTube and read other blogs. I've gone through several different approaches and have settle on plastic storage bins for the woodblock stamps and binders for the cling or acrylic stamps.  At least for now.
Check out the video below to get an overview on what I use and how they get stored.


I'm working on how to organize my digital stamps, which is mostly comprising of a spreadsheet that can be placed in my binders.  When I have that one figured out I'll let you guys know.
HAPPY ORGANIZING